 Save
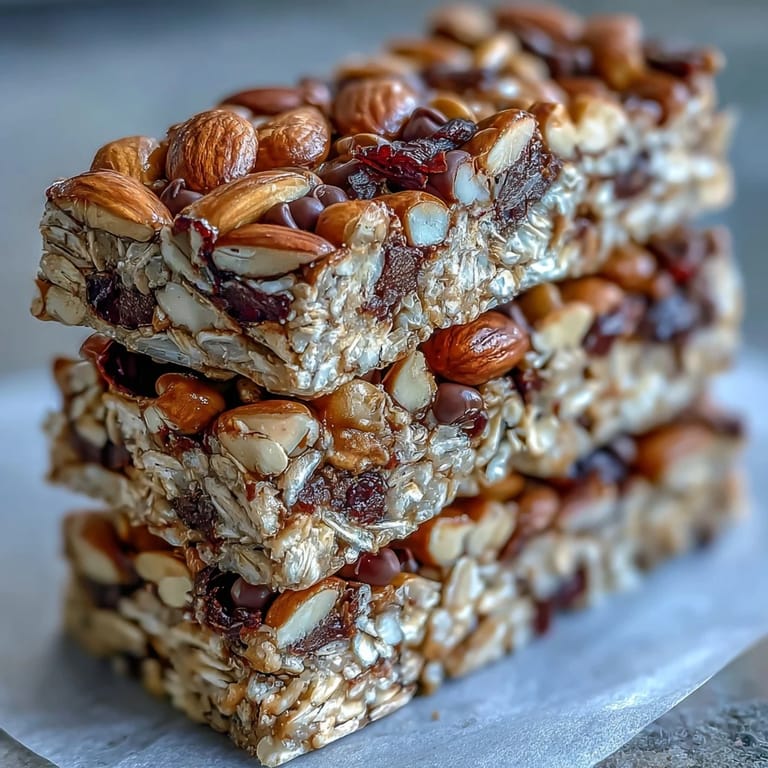
Save Last summer, I was scrambling to pack snacks for a hiking trip and realized my usual store-bought granola bars were sitting in the pantry, stale and forgotten. Standing in my kitchen with a friend who'd just dropped by, I decided to throw together whatever I had on hand—oats, peanut butter, honey, some dried cranberries—and the result was so good that we barely made it out the door before eating half the batch. These no-bake bars became my go-to solution, and now they're the first thing I reach for when I need something wholesome that doesn't require turning on the oven.
I made these bars the night before a canoe trip with my family, and my teenage son ate three before we even left the dock. My mom, who's usually skeptical about anything homemade in the snack department, admitted they were better than the commercial kind—and that felt like winning the lottery. That's when I knew I'd stumbled onto something people would actually want to eat.
Ingredients
- Old-fashioned rolled oats (2 cups): The backbone of these bars, providing chewy texture and staying power through a hike or busy afternoon.
- Crisp rice cereal (1 cup): This adds a subtle crunch and helps the bars hold together without needing eggs or binders.
- Mixed nuts, chopped (1/2 cup): Use whatever you love—almonds give a delicate flavor, walnuts bring earthiness, pecans add richness.
- Dried fruit (1/2 cup): Cranberries keep things tart, raisins add chewiness, apricots bring natural sweetness that balances the nuts.
- Unsweetened shredded coconut (1/4 cup, optional): This brings a subtle tropical note without overpowering the other flavors.
- Salt (1/4 teaspoon): A pinch of salt makes everything taste more like itself, rounding out the sweetness.
- Honey or maple syrup (1/2 cup): The binding agent that holds everything together; honey feels slightly more decadent, maple syrup adds earthiness.
- Peanut butter or almond butter (1/3 cup): This creates the creamy backbone that coats all your dry ingredients and helps everything stick.
- Vanilla extract (1 teaspoon): A small amount deepens the overall flavor without announcing itself.
- Mini chocolate chips (1/4 cup, optional): Stir these in after the mixture cools slightly to keep them from melting into the mixture.
- Chia seeds or flaxseed meal (1 tablespoon, optional): These add nutrition and a pleasant subtle texture.
Tired of Takeout? 🥡
Get 10 meals you can make faster than delivery arrives. Seriously.
One email. No spam. Unsubscribe anytime.
Instructions
- Line your pan with intention:
- Tear off a square of parchment paper and press it into an 8-inch square baking pan, letting the edges hang over the sides like little handles. This is your ticket to lifting the bars out later without falling apart or leaving behind crumbly bits.
- Combine your dry teammates:
- Pour the oats, rice cereal, chopped nuts, dried fruit, coconut (if using), and salt into a large bowl and give it a good stir until everything is evenly distributed. This prep work ensures no bites will be lopsided or nut-heavy.
- Warm your binding sauce:
- In a small saucepan over low heat, pour in your honey and peanut butter and let them mingle, stirring occasionally, until the mixture is smooth and pourable—about 2 to 3 minutes. Turn off the heat, stir in the vanilla, and step back to appreciate how good this smells.
- Bring everything together:
- Pour that warm, glossy mixture over your dry ingredients and stir with purpose, making sure every oat and nut gets coated in the sticky-sweet binding. The mixture should look cohesive and slightly shiny when you're done.
- Time the chocolate chip moment:
- Let the mixture cool for 2 to 3 minutes before stirring in the chocolate chips if you're using them, so they stay as distinct little pockets rather than melting into oblivion. If you're skipping chocolate, move straight ahead.
- Press and pack:
- Transfer everything into your lined pan and use a spatula or the flat bottom of a measuring cup to press it down firmly and evenly, working from the center outward. You want it compact enough to hold together when cut, but not so dense that it turns into a brick.
- Finish with flourish:
- Sprinkle a few extra chocolate chips or crushed nuts on top if you're feeling fancy, pressing them in gently so they stick. This is optional but makes the bars look intentional.
- Chill and set:
- Cover the pan loosely and refrigerate for at least 1 hour, ideally longer, until the bars feel firm when you press on them. The cold helps everything hold its shape.
- Cut and store:
- Lift the whole block out using the parchment overhang, lay it on a cutting board, and use a sharp, clean knife to cut it into 12 bars, wiping the blade between cuts. Keep them in an airtight container in the fridge for up to a week.
 Save
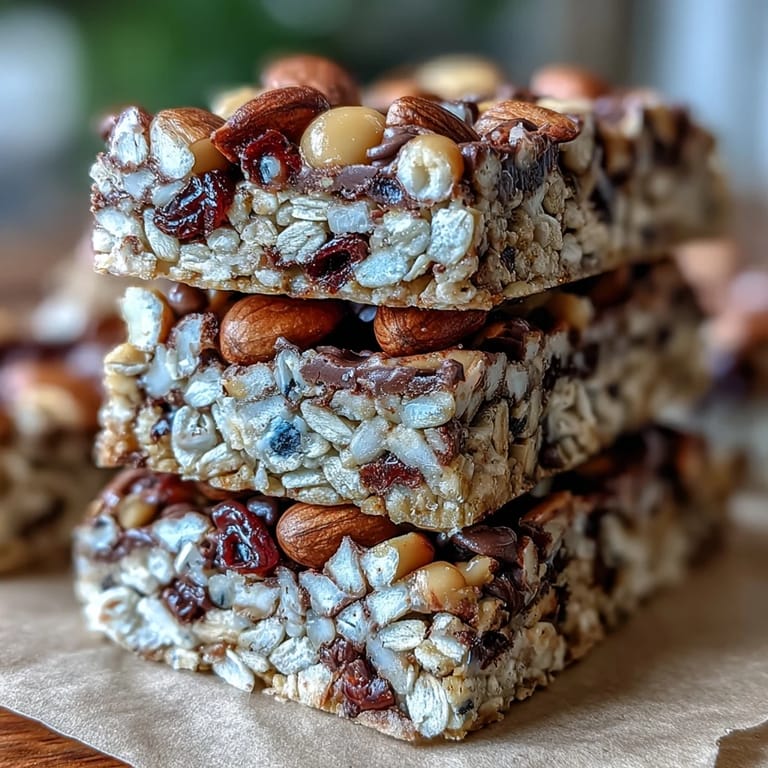
Save One afternoon, my neighbor came by while I was cutting a fresh batch, and the aroma of oats and honey was so inviting that she stayed for tea and asked for the recipe on the spot. That simple moment reminded me that good snacks aren't just about convenience—they're about bringing people together.
Flavor Combinations That Work
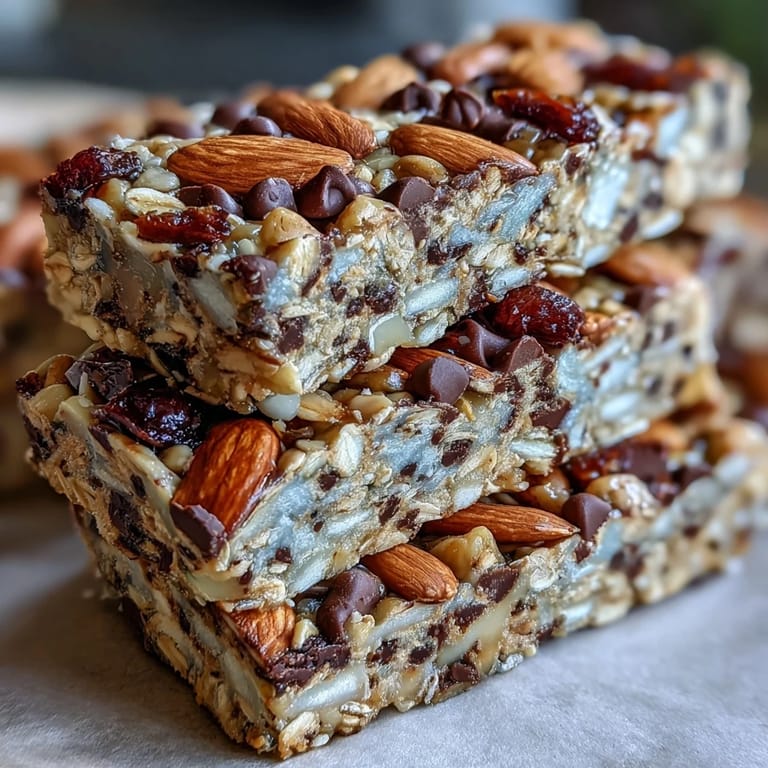
The beauty of these bars is that they're a canvas for whatever flavors you're craving. I've done an autumn version with candied ginger and dried apples, a tropical riff with coconut and macadamia nuts, and even a chocolate-cherry situation that felt like dessert but tasted wholesome. The ratio of honey to peanut butter stays constant, but everything else is fair game—trust your instincts and taste as you go.
Why No-Bake Is Your Friend
Beyond the obvious benefit of keeping your kitchen cool, no-bake snacks feel more forgiving and intuitive than their baked cousins. There's no preheating, no timing anxiety, no wondering if they're done—just mix, press, and wait. I love these bars especially during summer when the thought of turning on an oven makes me want to scream, or during busy weeks when I need something healthy I can assemble in the time it takes to brew a cup of coffee.
Make-Ahead Magic and Storage Tips
These bars are the definition of make-ahead food—I'll often prepare a batch on Sunday and forget about them until I'm reaching for a quick breakfast before work. They keep brilliantly in the fridge for a week, and if you wrap individual bars in parchment and pop them in the freezer, they'll last for months. There's something deeply satisfying about having a stash of wholesome snacks ready whenever hunger strikes, and these bars turn that dream into reality.
- Wrap each bar individually in parchment paper before storing to keep them from sticking together and to grab and go without thinking.
- If you prefer them softer, pull them from the fridge a few minutes before eating; if you like them firmer, keep them cold.
- Transport them in a small container for picnics or hikes—they're sturdy enough to survive backpacks and won't leave your bag a greasy mess.
 Save
Save These bars have become my answer to the "what's a good snack" question, and they've earned a permanent spot in my regular cooking rotation. Once you make them once, you'll understand why they're worth repeating again and again.
Recipe FAQs
- → Can I substitute peanut butter?
Yes, you can use almond butter or sunflower seed butter for a nut-free option without altering the texture significantly.
- → How long do bars stay fresh?
Stored in an airtight container in the refrigerator, these bars stay fresh for up to one week.
- → Can I add spices for flavor?
Absolutely, cinnamon or cardamom work well to enhance the flavor profile of the bars.
- → Are these bars suitable for vegans?
Swap honey for maple syrup and use dairy-free chocolate chips to make vegan-friendly bars.
- → Is baking required for these bars?
No baking is needed; the bars set by chilling in the refrigerator after mixing.