 Save
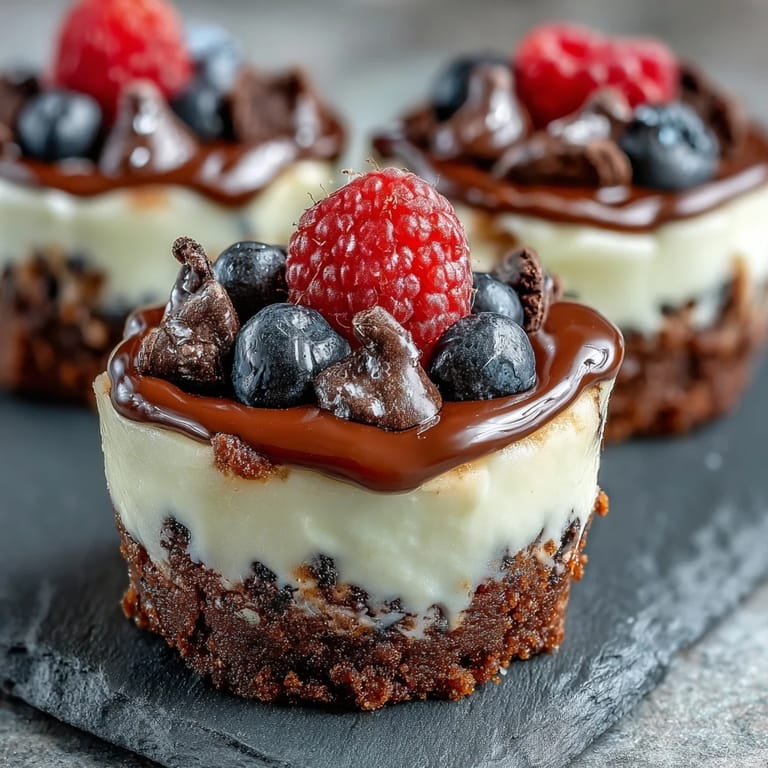
Save There's something enchanting about mini desserts, especially when they carry a promise of indulgence without the guilt of a full slice. The first time I whipped up these Mini Cheesecake Bites, I was hosting a lively gathering with friends, and I needed a sweet treat that was easy to enjoy between conversations and laughter. The moment I pulled them from the oven, that warm scent of melted Oreos and cream cheese enveloped the kitchen, and it felt like an instant celebration. Sometimes, it's the simplest ideas that bring the greatest joy, and it was a hit from the first bite!
During that gathering, I remember a friend eagerly grabbing one and declaring it the best cheesecake she’d ever had. The joy on her face sparked a wave of compliments that made me beam with pride. It’s moments like these that anchor your love for cooking, where the flavors you create become woven into shared experiences and cherished memories.
Ingredients
- 24 Oreo cookies: These add the perfect crunchy depth and rich cocoa flavor to the crust.
- 4 tbsp unsalted butter, melted: This binds the crumbs together, giving the crust its delightful texture.
- 16 oz cream cheese, softened: A must for achieving that creamy consistency in the filling.
- 1/2 cup granulated sugar: Sweetens the cheesecake and balances the flavors.
- 2 large eggs: They help the filling set beautifully.
- 1 tsp vanilla extract: Adds that warm, inviting aroma.
- 1/4 cup sour cream: Brings richness and a slight tang to the cheesecake.
- Pinch of salt: A little salt enhances all the sweet flavors.
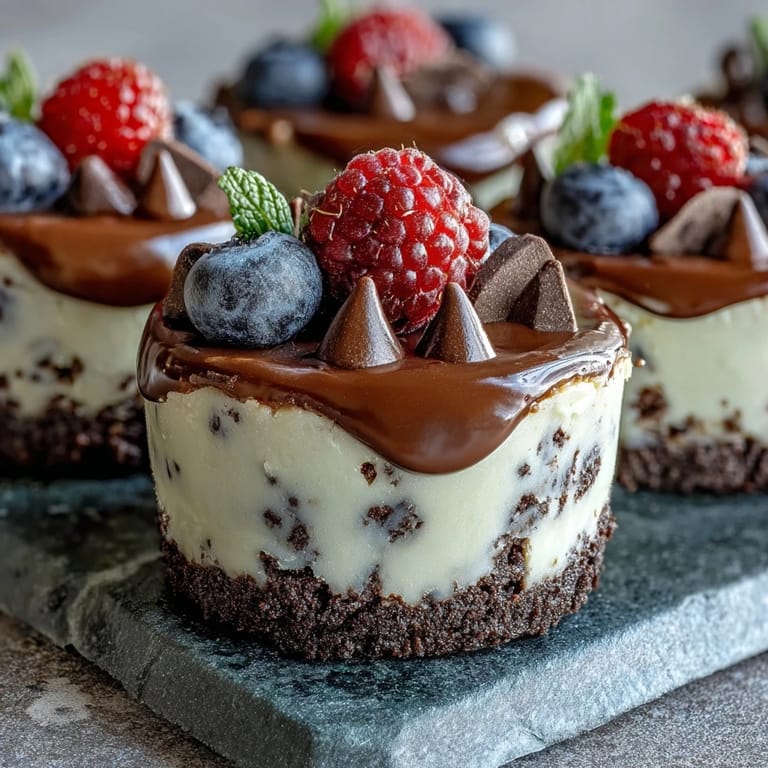
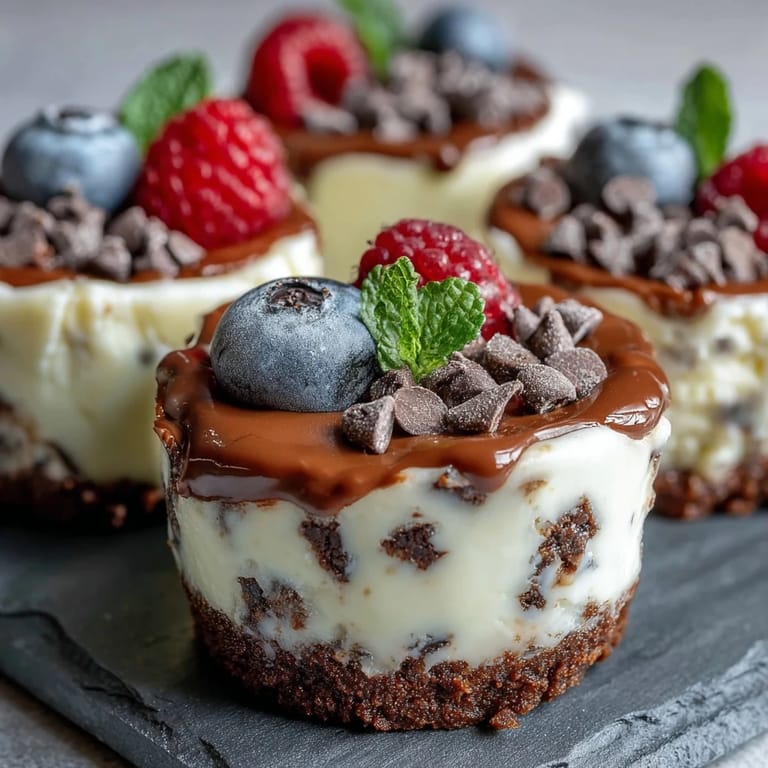
- Topping (optional): Mini chocolate chips or fresh berries for added fun.
Tired of Takeout? 🥡
Get 10 meals you can make faster than delivery arrives. Seriously.
One email. No spam. Unsubscribe anytime.
Instructions
- Preheat and Prepare:
- Kick things off by preheating your oven to 325°F (160°C) and lining a mini muffin tin with paper liners. The anticipation in the air is half the fun!
- Make the Crust:
- In a food processor, pulse the Oreos into fine crumbs and mix in the melted butter until the crumbs are moistened. This is when that delightful cookie aroma hits you.
- Shape Each Crust:
- Spoon about a tablespoon of the mixture into each muffin cup, pressing down firmly to create a solid base. Remember, a good crust means a happy filling!
- Bake the Crusts:
- Pop the crusts in the oven for 5 minutes, then let them cool a bit while you prepare the filling. That aroma wafting through the kitchen is pure bliss.
- Prepare the Filling:
- In a bowl, beat softened cream cheese until smooth, mix in the sugar, then add eggs one at a time, and finish with vanilla, sour cream, and salt. You'll love how creamy and lush it looks!
- Fill the Cups:
- Divide the filling evenly among the cups, filling almost to the top for that beautiful cheesecake rise. Your hard work is paying off!
- Bake and Cool:
- Bake for 12-14 minutes until the centers are set but still have a gentle jiggle. Patience is key as they cool on the counter first before chilling.
- Chill and Serve:
- Let them cool for 30 minutes at room temperature, then chill in the refrigerator for at least an hour. This is the hardest part; the waiting!
- Add the Final Touches:
- Top each bite with mini chocolate chips or fresh berries if desired. Presentation is everything, and you’re almost there!
 Save
Save The first time I served these bites at a family dinner, my niece’s eyes lit up as soon as she took her first bite. It’s incredible how such a simple dessert can ignite joy and spark connections around the table.
Cute Presentation Ideas
Mini cheesecakes are perfect for parties, and their presentation can really elevate the experience. Consider using colorful cupcake liners or garnish them with edible flowers for a charming touch that will impress your guests.
Storing and Freezing Tips
These little bites store incredibly well! Just pop them in an airtight container in the fridge for up to a week, or freeze them for up to a month if you’re planning ahead.
Serving Suggestions
They pair wonderfully with a cup of coffee or a glass of dessert wine. A dollop of whipped cream on top never hurts, either!
- For a festive twist, add a sprinkle of cinnamon for the holidays.
- Try experimenting with different flavored extracts instead of vanilla; almond gives a lovely twist!
- Remember to share them at gatherings; they’re meant to be enjoyed with friends!
 Save
Save These Mini Cheesecake Bites are more than just a dessert; they're a delightful experience wrapped up in sweetness. Every bite is a little moment to savor, and I can’t wait for you to create your own memories around them!
Recipe FAQs
- → How do I store leftovers?
Store leftovers in an airtight container in the refrigerator for up to 5 days.
- → Can I use other cookies for the crust?
Yes, feel free to experiment with other cookie types, like gluten-free options or different chocolate cookies.
- → What is the best way to serve these bites?
Serve chilled, and optionally top with mini chocolate chips or fresh berries for added flavor.
- → Can these bites be frozen?
Yes, they freeze well. Just store in an airtight container for up to 1 month.
- → What is the cooking time for these bites?
The cooking time is approximately 17 minutes, plus chilling time of at least 1 hour.