 Save
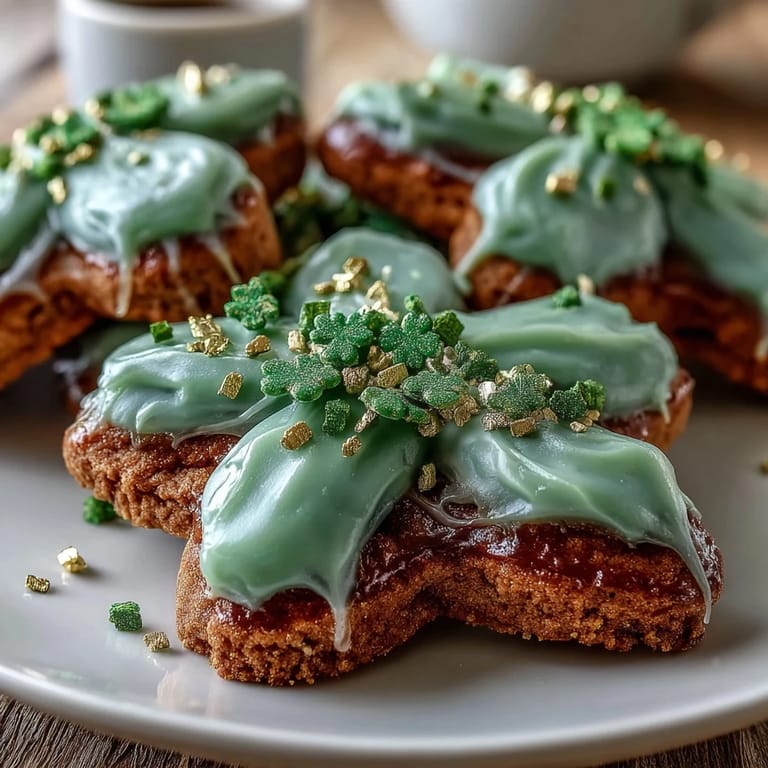
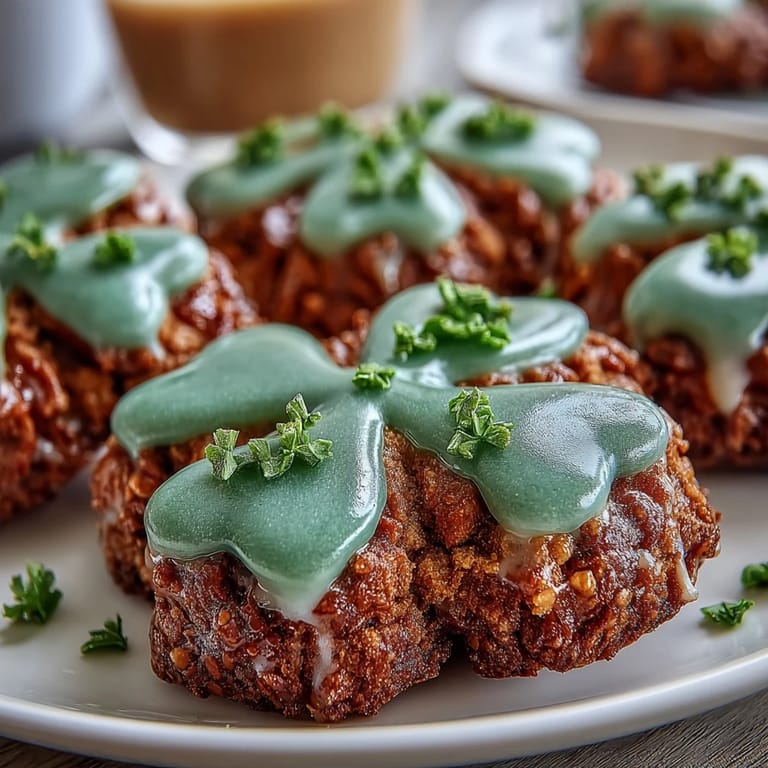
Save A few years back, my neighbor showed up at my door with a tin of the most beautiful green and gold cookies I'd ever seen, each one outlined in buttercream like tiny edible works of art. She mentioned they were ridiculously easy to make, which I didn't believe until I tried them myself on a quiet Wednesday afternoon. Now whenever March rolls around, I find myself mixing this dough almost on autopilot, the kitchen filling with that buttery vanilla scent that somehow makes the whole holiday feel more real. My kids have started requesting them weeks in advance, and honestly, I've given up pretending they're just for St. Patrick's Day.
I'll never forget the year I made these for my daughter's classroom party and forgot to chill the dough properly. I was panicking, but my mom casually suggested I just pop it in the freezer for twenty minutes instead, and somehow those rushed cookies turned out better than ever—crisp edges, soft centers, the works. That little mishap taught me that this recipe is forgiving in the best way possible, which is exactly what you need when you're celebrating with people you love and time is running short.
Ingredients
- All-purpose flour: The foundation here—makes sure your cookies hold their shape without becoming tough, so don't skip sifting if you have the time.
- Baking powder: Just a touch gives these cookies their signature tender crumb and helps them rise gently in the oven.
- Unsalted butter: Softened ahead of time, it creams beautifully and lets the vanilla shine without competing flavors.
- Granulated sugar: Creates that slightly crispy edge while keeping the inside wonderfully soft.
- Egg: Binds everything together and adds richness that makes these feel more indulgent than a basic cookie.
- Vanilla extract: Use pure, not imitation—the difference is subtle but noticeable when you're biting into something this simple.
- Almond extract: Optional but honestly worth the extra dollar, adding a delicate floral note that makes people wonder what your secret is.
- Powdered sugar for buttercream: Sift it first to avoid lumps that'll ruin your piping work later.
- Gel food coloring: Skip the liquid stuff entirely—gel gives you that vibrant green and gold without thinning out your frosting.
Tired of Takeout? 🥡
Get 10 meals you can make faster than delivery arrives. Seriously.
One email. No spam. Unsubscribe anytime.
Instructions
- Mix your dry ingredients:
- Whisk flour, baking powder, and salt together in a bowl and set aside—this ensures everything bakes evenly without any streaks of unmixed powder.
- Cream butter and sugar:
- Beat them together until the mixture looks pale and fluffy, about two to three minutes—you're essentially incorporating air that makes these cookies tender. If you rush this step, you'll notice a denser cookie later.
- Add your wet ingredients:
- Drop in the egg, vanilla, and almond extract, beating until everything disappears into the butter mixture and looks smooth.
- Combine wet and dry:
- Gently fold in your flour mixture, stirring just until no white streaks remain—overmixing leads to tough cookies, so resist the urge to keep going.
- Chill the dough:
- Divide the dough in half, shape each piece into a disc, wrap tightly, and refrigerate for at least an hour or even overnight. Cold dough is forgiving dough.
- Prep your workspace:
- Preheat your oven to 350°F and line baking sheets with parchment paper so nothing sticks.
- Roll and cut:
- On a floured surface, roll the dough to about a quarter-inch thickness—thicker and they stay soft, thinner and edges get crispy. Use shamrock cutters or whatever festive shapes speak to you.
- Space them properly:
- Leave about an inch between cookies so heat circulates and they bake evenly without touching.
- Bake until just right:
- Watch for edges that are barely golden, usually eight to ten minutes—pull them out a hair early if you like them softer. They continue cooking slightly on the hot pan.
- Cool with patience:
- Let them sit on the baking sheet for five minutes before moving to a wire rack, giving them time to firm up without breaking apart.
- Make your buttercream:
- Beat softened butter until it's creamy, then gradually add sifted powdered sugar while mixing—this prevents lumpy frosting that won't pipe smoothly. Add vanilla, salt, and just enough milk to reach a consistency thick enough to hold shape but fluid enough to pipe.
- Color your frosting:
- Divide buttercream into bowls and add gel coloring drop by drop, mixing well—remember that gel is concentrated, so you need way less than you think.
- Pipe with confidence:
- Transfer buttercream to piping bags with small round tips and outline your cooled cookies however feels right—wobbly lines are part of the charm. Let frosting set before stacking or serving.
 Save
Save There's something magical about watching someone bite into one of these cookies and see their face light up—that moment when they realize it's not dry or overly sweet, just perfectly buttery and tender with that beautiful contrast of soft cookie and crisp frosting outline. That's when these stop being a recipe and become a memory.
Making Ahead and Storage
I've learned the hard way that cookie dough is one of the most forgiving make-ahead components in the kitchen. You can wrap discs tightly and refrigerate them up to two days or freeze for a full month, which means you can be halfway ready for St. Patrick's Day without any stress. When you're ready to bake, just pull the dough out fifteen minutes before rolling to let it soften slightly—if it's still rock hard, you'll tear it to pieces trying to flatten it.
Customizing Your Cookies
The beauty of this recipe is how endlessly adaptable it becomes once you understand the basic technique. You can switch out shamrock cutters for horseshoes, rainbows, or even simple circles and decorate them however your mood strikes. My cousin added a tiny pinch of lemon zest to the dough once, and suddenly the entire batch had this subtle brightness that people couldn't quite identify but loved anyway.
Pairing and Serving Ideas
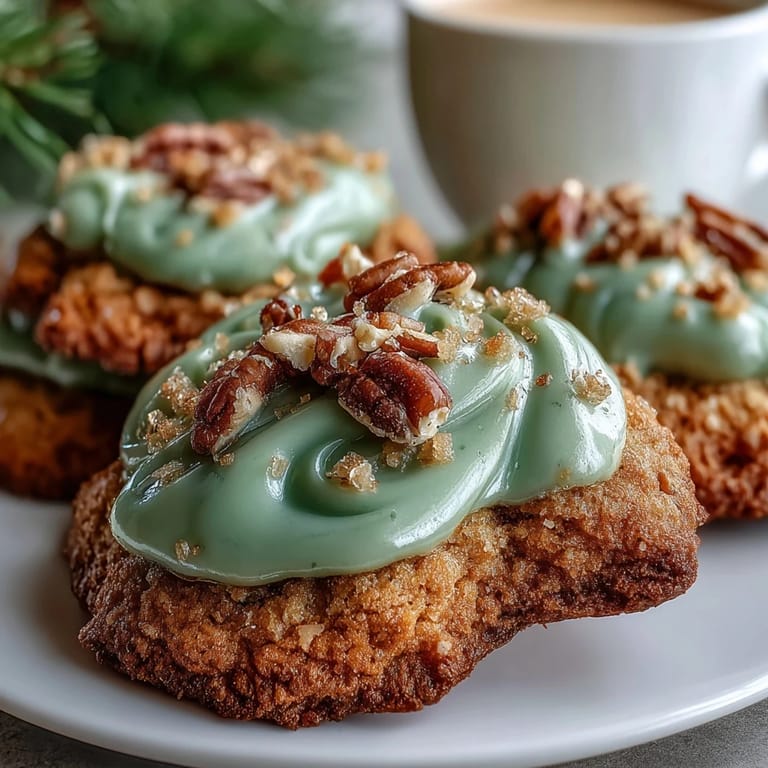
These cookies taste even better when surrounded by the right moment—there's something about pulling a plate of them out during an afternoon gathering that transforms the whole vibe. Serve them alongside Irish coffee for grown-ups or hot chocolate for kids, or honestly just set them out and watch them disappear.
- Nestle them in a pretty tin lined with parchment for gifts that feel thoughtful without being complicated.
- Make extra dough and freeze it so you can bake fresh cookies whenever the mood hits, even in April.
- Don't stress about perfection in your piping—the slight imperfections are what make them feel homemade and real.
 Save
Save These cookies are proof that simple ingredients in the right proportions create something that feels celebratory without any fussiness. Make them, share them, and watch people's faces when they realize just how good something this easy can be.
Recipe FAQs
- → How do I achieve soft sugar cookies?
Chilling the dough before baking helps maintain softness. Bake until edges are barely golden and avoid overbaking.
- → What is the best way to decorate the cookies?
Use buttercream tinted with gel food coloring piped with small round tips to outline the shapes gently.
- → Can I prepare the dough in advance?
Yes, dough can be refrigerated up to 2 days or frozen for 1 month, then thawed before use.
- → What variations can I try for shapes?
Using festive or shamrock cookie cutters adds a thematic touch ideal for St Patricks Day celebrations.
- → Are there any allergen considerations?
Contains wheat, eggs, and dairy. Almond extract is optional and can be omitted for nut allergies.