 Save
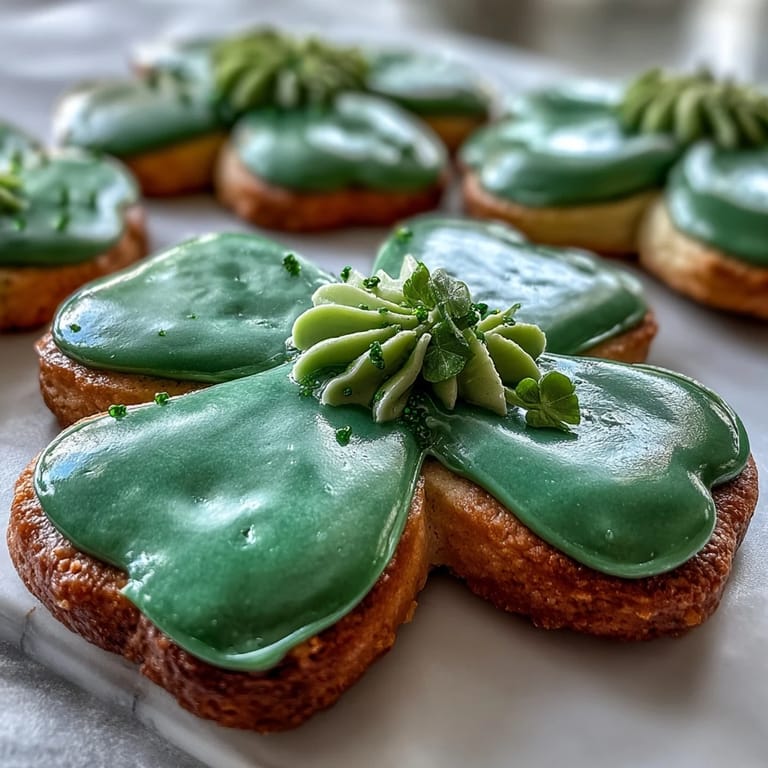
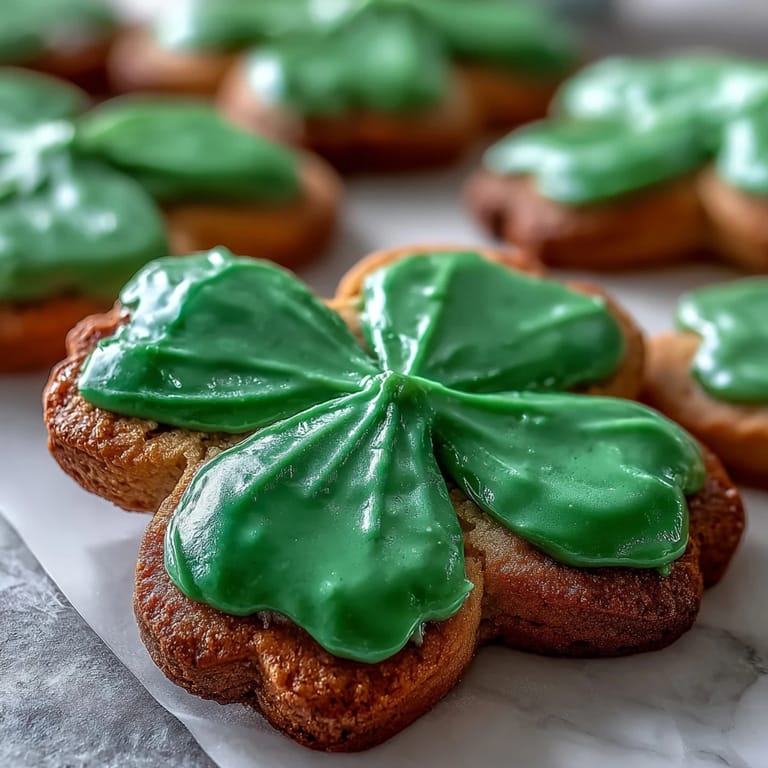
Save My kitchen smelled like butter and vanilla the morning my daughter declared we were making St. Patrick's Day cookies from scratch, no shortcuts allowed. I'd bought a shamrock cutter months earlier, thinking I'd use it once and forget about it, but watching her carefully press it into the dough made me realize this was going to become our tradition. Something about these cookies felt different—less about the holiday and more about creating something we'd decorated together, laughing when the icing dripped in unexpected directions.
I'll never forget the first time I made the royal icing and forgot to sift the powdered sugar first—lumpy, grainy chaos that I almost threw away. My partner suggested running it through a fine mesh strainer, and suddenly it transformed into something smooth and paintable. That one mistake taught me that patience in preparation changes everything, and now sifting is the first thing I do.
Ingredients
- All-purpose flour: The foundation that gives these cookies their tender crumb; make sure it's not packed down when you measure or your dough will be tough.
- Unsalted butter: Softened to room temperature so it creams properly with sugar, creating air pockets that keep cookies light instead of dense.
- Granulated sugar: Works with the butter to trap air and create the subtle crunch at the edges you'll notice when you bite into a cooled cookie.
- Egg: Binds everything together and adds richness without making the dough greasy or wet.
- Vanilla and almond extracts: Two extracts give deeper flavor than one alone; the almond is optional but worth it if no one at your table has a nut allergy.
- Baking powder: Just enough to give cookies a gentle lift, not so much that they puff up like cake.
- Powdered sugar: Must be sifted before mixing into royal icing or you'll have lumpy disappointment.
- Egg whites or meringue powder: The choice between real egg whites and meringue powder comes down to comfort; meringue is safer for worried minds, real eggs taste fractionally richer.
- Green gel food coloring: Gel doesn't water down your icing like liquid coloring does, so your green stays vivid and the consistency stays thick.
Tired of Takeout? 🥡
Get 10 meals you can make faster than delivery arrives. Seriously.
One email. No spam. Unsubscribe anytime.
Instructions
- Mix your dry ingredients:
- Whisk flour, baking powder, and salt in a bowl and set it aside; this prevents lumps from hiding in your dough later.
- Cream butter and sugar until fluffy:
- Beat for 2 to 3 minutes until the mixture looks pale and has tiny air bubbles throughout; rushing this step means denser cookies.
- Add the wet ingredients:
- Mix in the egg, vanilla, and almond extract until the bowl looks uniform, but don't overmix.
- Combine wet and dry gently:
- Fold the dry mixture into the wet mixture just until you don't see flour streaks anymore; overworking develops gluten and toughens the dough.
- Chill the dough:
- Shape into two disks, wrap in plastic, and refrigerate for at least an hour so the dough won't spread like water when it bakes.
- Prepare to bake:
- Preheat your oven to 350°F and line baking sheets with parchment paper so cookies release cleanly.
- Roll and cut with care:
- Work on a lightly floured surface and keep the dough at a thickness of about a quarter inch; too thin and cookies become fragile, too thick and they won't bake through evenly.
- Bake until golden at the edges:
- Watch for the moment edges turn a pale golden color, which takes 9 to 11 minutes; overbaking turns them hard and bitter.
- Cool strategically:
- Leave cookies on the hot pan for 5 minutes so they firm up, then move them to a wire rack to cool completely before icing.
- Make the royal icing:
- Beat powdered sugar with egg whites and vanilla for about 5 minutes until stiff peaks form and the icing becomes glossy and thick.
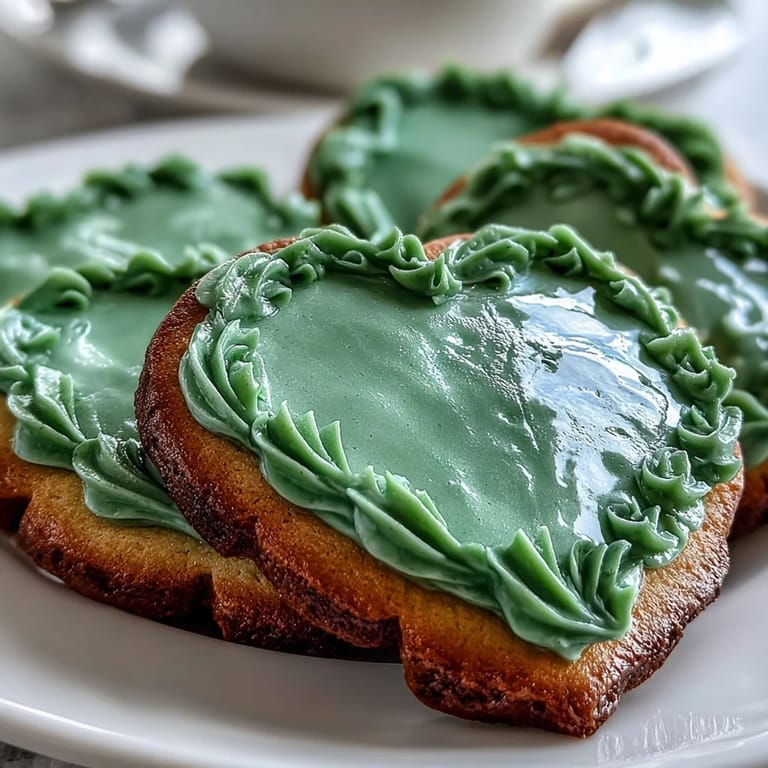
- Tint with green color:
- Add gel coloring a tiny bit at a time, mixing until you reach the shade you want; you can always add more but you can't take it out.
- Pipe and decorate:
- Fill piping bags and outline each shamrock first, then fill the inside with a flood technique that lets gravity do the work; add sprinkles immediately while wet so they stick.
- Let icing set:
- Give icing at least an hour to harden completely before stacking or packaging cookies.
 Save
Save There's something magical about watching someone bite into a cookie you decorated yourself, even if the icing isn't perfectly smooth or the sprinkles went a little wild. My daughter has eaten maybe two of the cookies we've made together; the rest went to neighbors, teachers, and friends. It made me realize these aren't really about the cookies at all—they're about the time we spend creating something that says without words that we were thinking of someone.
The Science of Shamrock Shapes
A shamrock cookie cutter works best when the dough is cold and your surface is lightly floured, not drenched in it. I learned this by making a mess the first time, pressing down and wiggling the cutter instead of just pressing straight down and lifting cleanly. The trick is confidence—press once, lift once, and move on without second-guessing yourself.
Royal Icing That Doesn't Crack or Weep
The difference between royal icing that stays glossy and cracks versus icing that weeps (where moisture separates) is usually humidity and beating time. If your kitchen is dry, you might need slightly less vanilla or a drop of lemon juice to balance the consistency. I keep mine covered with a damp cloth while piping so it doesn't dry out and become unworkable.
Storing and Gifting Your Cookies
These cookies last beautifully in an airtight container at room temperature for up to a week, and the icing actually hardens more on day two, making them sturdier for gift boxes. I once made a batch on Monday and packed them in small bags as Friday gifts, and no one complained about slightly aged cookies when they tasted this good.
- Layer cookies between parchment paper in storage containers so the icing on one doesn't stick to another.
- Royal icing can be made the day before and stirred back to the right consistency before piping.
- If you need to ship these, make sure they're completely hard before packing, and use lots of padding so they don't crack during travel.
 Save
Save These shamrock cookies have become our quiet tradition, the kind of thing we make without needing to discuss whether we're making them, because some rituals just know to come around when the season asks. I hope you'll make them once and find they become your tradition too.
Recipe FAQs
- → How do I prevent the cookies from spreading too much?
Chilling the dough for at least an hour before rolling helps maintain shape during baking. Avoid overworking the dough to keep edges crisp.
- → Can I substitute meringue powder in the icing?
Yes, meringue powder can replace egg whites for stability and ease, especially if fresh eggs are not preferred or for longer storage.
- → What is the best way to color the royal icing evenly?
Gel food coloring is ideal as it provides vibrant color without altering icing consistency; mix thoroughly until uniform.
- → Should the cookies be completely cooled before icing?
Absolutely. Cooling completely prevents the icing from melting or becoming runny, ensuring crisp, clean decoration.
- → How long does the royal icing take to set?
Allow at least one hour at room temperature for icing to harden fully, especially if thick layers or intricate designs are applied.
- → Can almond extract be omitted without affecting flavor?
Yes, almond extract is optional and can be left out or replaced to accommodate allergies without compromising the cookie’s texture.