 Save
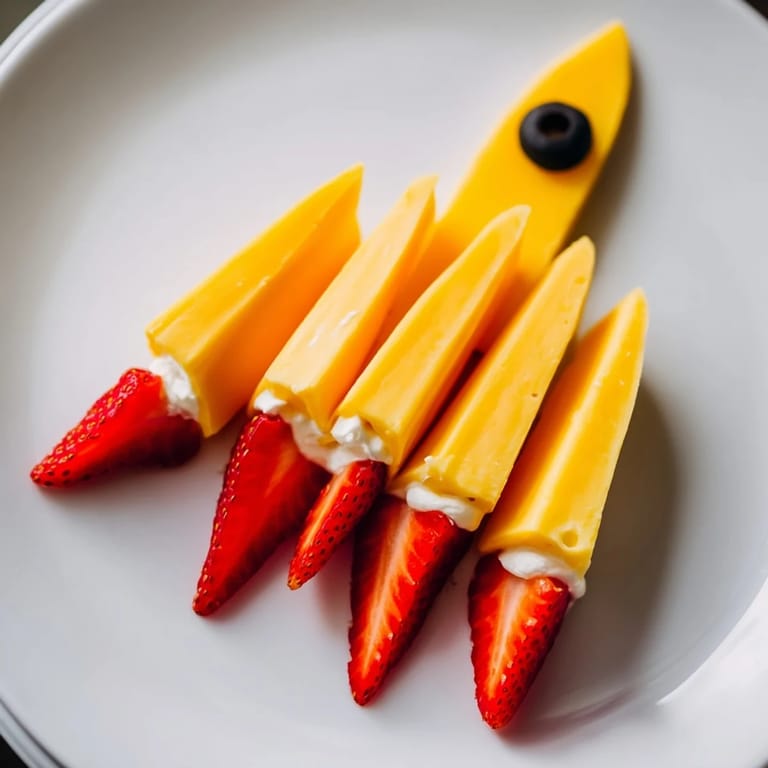
Save My daughter came home from school asking if we could make something that looked like a spaceship, and I immediately thought of building it straight from the fridge. There's something magical about arranging sharp cheddar wedges into a pointed nose cone while she sketched the design on paper. Before I knew it, we'd turned a simple cheese board into a rocket that had her bouncing with excitement.
I'll never forget my neighbor poking her head over the fence during a backyard birthday party, asking what kind of bakery I'd hired because she thought the rocket was a pastry creation. When I told her it was just cheese and strawberries, she laughed so hard she had to sit down, then immediately asked if we could make one for her daughter's party the following week.
Ingredients
- Sharp cheddar cheese, cut into pointed wedges: The body of your rocket needs attitude, and a good aged cheddar delivers the bite that makes this work beyond just looking pretty. Cut wedges at angles so they naturally point skyward and stack easily.
- Cream cheese: A tiny dab between wedges acts like edible glue, holding everything together without anybody noticing you cheated a little.
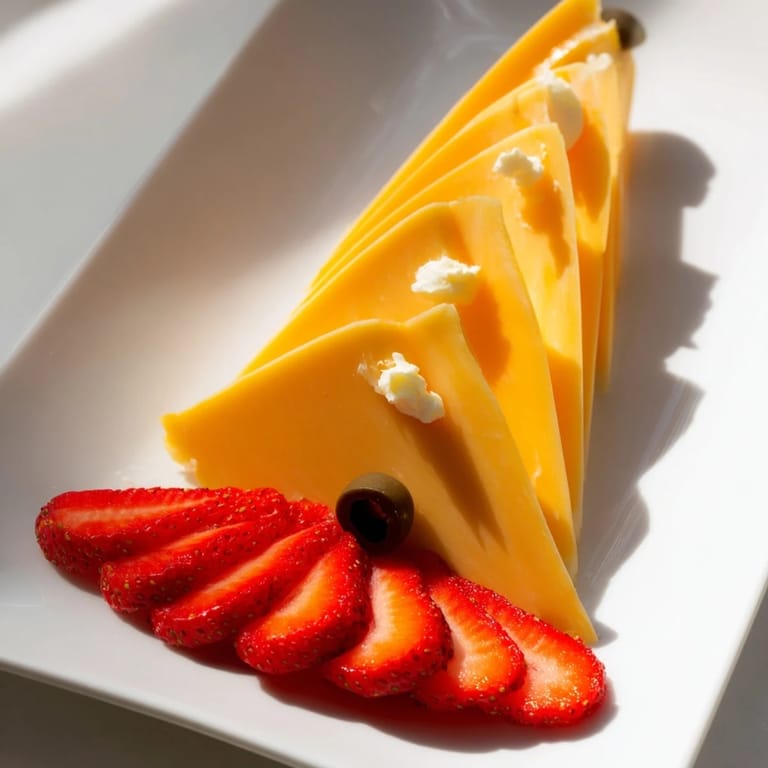
- Fresh strawberries, hulled and sliced lengthwise: Slicing lengthwise gives you those dramatic flame-like pieces that fan out at the base. The red color is non-negotiable for the effect.
- Black olives, sliced: These become the porthole windows of your rocket, and they add a salty contrast that honestly makes people pause mid-bite.
- Fresh mint leaves and carrot sticks: These are the optional details that take you from rocket to rocket ship with personality and fins.
Tired of Takeout? 🥡
Get 10 meals you can make faster than delivery arrives. Seriously.
One email. No spam. Unsubscribe anytime.
Instructions
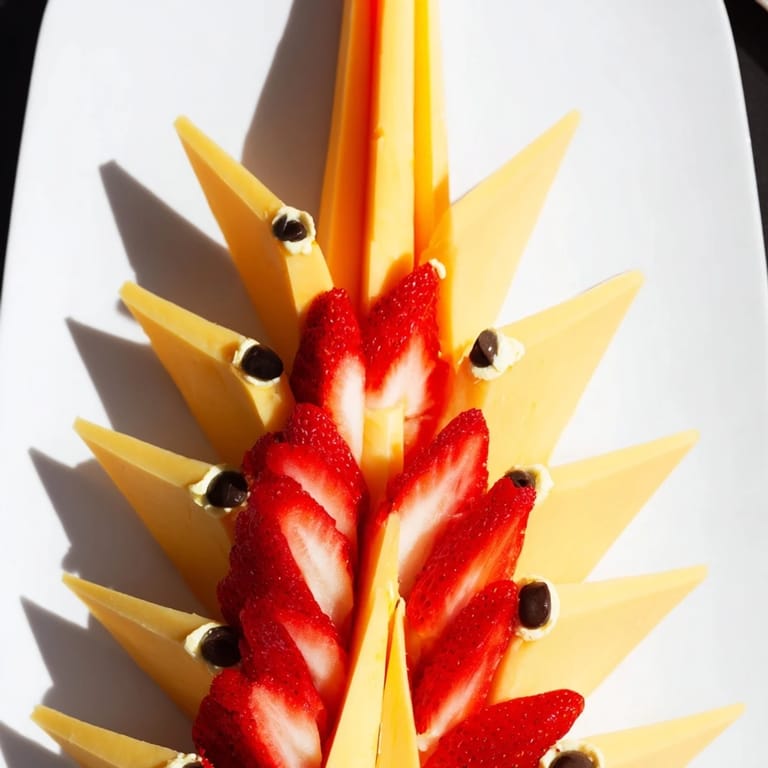
- Build your nose cone:
- Start with your largest cheese wedges at the center of your platter, angling them upward to form that classic pointed rocket tip. Overlap them slightly as you work outward, creating a sleek body that actually feels sturdy to the touch.
- Anchor with cream cheese:
- If your wedges feel wobbly, smear tiny dabs of cream cheese between them like you're gently persuading them to stay put. Just a little goes a long way here.
- Create the flame effect:
- Fan out your sliced strawberries at the base of the rocket in an expanding pattern, letting them look wild and directional, like they're propelling the whole thing into space.
- Add your details:
- Scatter olive slices along the body as windows, position carrot sticks as fins, and tuck mint leaves wherever they look good. This is where you get to play.
- Serve and admire:
- Get it on the table right away while the colors are vivid and the cheese is at its best. If you need to wait, cover loosely with plastic wrap and keep it cool.
 Save
Save The real turning point was realizing this wasn't just finger food anymore, but the moment when picky eaters suddenly became adventurous because the presentation made it feel less like eating their vegetables and more like exploring. That's when I understood why people remember food shaped like something magical.
Cheese Selection Makes All the Difference
Sharp cheddar is the obvious choice because it holds its shape and has flavor that stands up to the sweetness of strawberries, but I've experimented with Gouda for a warmer, smokier body and white cheddar for a cleaner look. Each cheese brings its own personality, and sometimes the rocket reflects the season or what's sitting in your cheese drawer.
Playing with Color and Flavor
Once you nail the basic rocket, you start seeing infinite variations in your mind. Mango slices create a sunset flame effect that feels tropical, while orange slices keep you in that citrus family and offer a delicate tartness. I've even tried roasted red peppers for a smokier, more sophisticated look that impressed actual adults at a potluck.
Making It Heartier and More Memorable
The rocket lives best as part of a grazing spread where crackers, breadsticks, or cured meats orbit around it like support vessels. A little bowl of nuts or a cluster of grapes nearby makes it feel intentional and generous rather than just a novelty act.
- Serve with crispy crackers or breadsticks that can handle both the cheese and fruit together.
- Set out small plates so guests have somewhere to build their own flavor combinations instead of just eyeballing a bite from the platter.
- Add this to a larger charcuterie display so it becomes a conversation starter rather than the whole show.
 Save
Save This rocket reminds me that the best recipes aren't always about technique or fancy ingredients, but about taking five minutes to make someone smile at the table. It's pure joy, and it absolutely delivers.
Recipe FAQs
- → What cheeses work best for this snack platter?
Sharp cheddar provides a great pointed shape and flavor, but you can also try Gouda or Swiss for color and taste variations.
- → Can the strawberries be replaced with other fruits?
Yes, mango or orange slices can be substituted for a different flame effect at the base of the rocket.
- → How can I keep the rocket shape stable?
Use small dabs of cream cheese between wedges to help hold the formation together securely.
- → Are there decorative options for enhancing the platter?
Black olive slices work well as windows, while thin carrot sticks and fresh mint leaves add fins and color accents.
- → What is the best way to serve this platter?
Arrange on a large serving platter and serve immediately, or cover and refrigerate until ready to present.