 Save
Save My sister called me in a panic last winter, insisting she needed something showstopping for her dinner party—something that would make her guests actually gasp. I was elbow-deep in laundry when she described these chocolate spheres that explode into hot chocolate, and I immediately abandoned everything to figure out how to make them. Turns out, crafting these little spheres became my obsession for the next three days, and now they're the first thing anyone asks me to bring to anything.
I made a batch for my neighbor's kids on a snowy afternoon, and watching their faces light up when the bombs melted felt like being a kitchen magician. One of them actually yelled, "Mom, you have to see this!" and dragged her parent over—that's when I knew this recipe was worth perfecting.
Ingredients
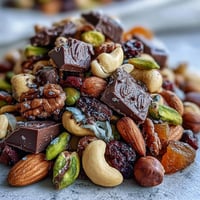
- High-quality dark or milk chocolate, chopped (300 g): The chocolate is your foundation, so don't skip on quality here—I learned this the hard way when I used bargain chocolate and the shells turned waxy and wouldn't seal properly.
- Unsweetened cocoa powder (6 tbsp): This is what gives your filling that deep chocolate punch, and it's why the final drink tastes so luxurious rather than overly sweet.
- Powdered sugar (6 tbsp): It dissolves instantly in hot milk and keeps the filling from clumping, plus it adds that smooth sweetness that balances the cocoa.
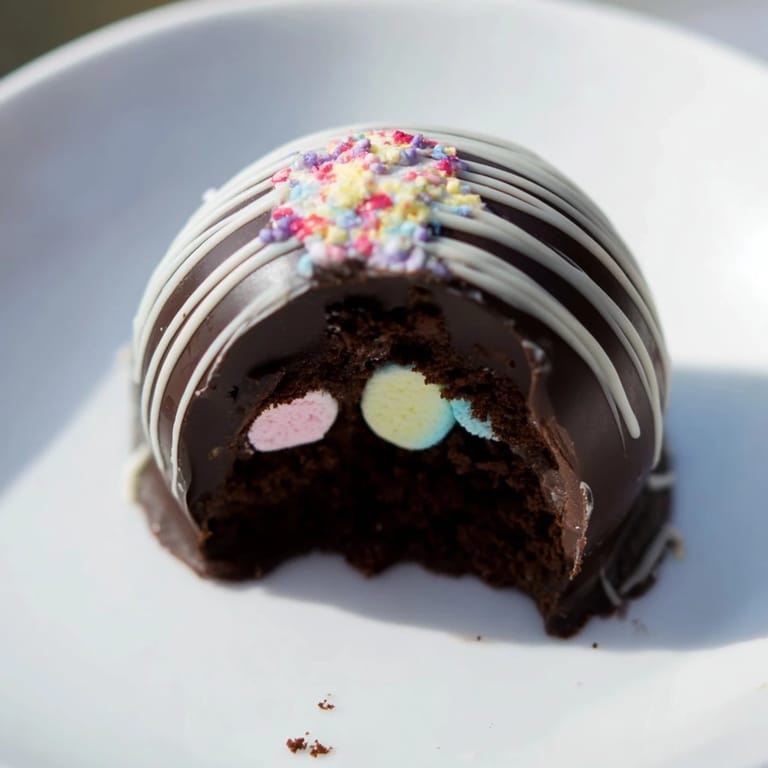
- Mini marshmallows (1 cup): These are the surprise that makes people smile, and they float to the top like little clouds of happiness.
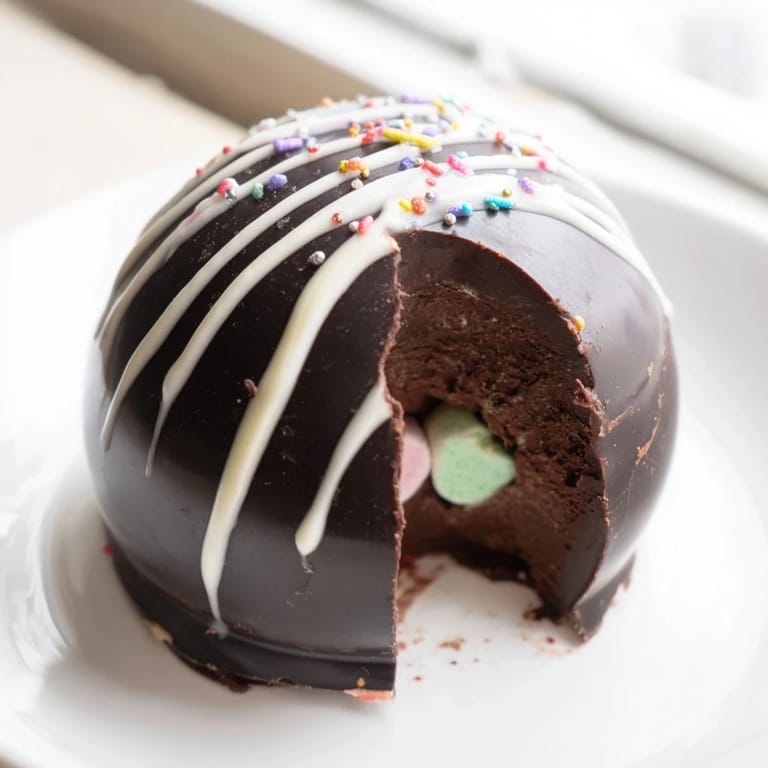
- White chocolate, melted (50 g): Optional, but this drizzle transforms your bombs from homemade to boutique-looking in seconds.
- Sprinkles, to taste: A finishing touch that lets you add color and personality—I usually choose festive sprinkles that match the season.
Tired of Takeout? 🥡
Get 10 meals you can make faster than delivery arrives. Seriously.
One email. No spam. Unsubscribe anytime.
Instructions
- Melt your chocolate gently:
- Use a double boiler over simmering water or zap it in 30-second bursts in the microwave, stirring between each pulse. You'll know it's ready when it's completely smooth with no lumps hiding at the bottom.
- Build the first chocolate layer:
- Brush or spoon melted chocolate into your silicone molds with an even, generous coating—think of it like painting a delicate layer that will hold everything inside. This first layer sets the structure of your entire bomb.
- Chill and reinforce:
- Pop the molds in the fridge for 10 minutes, then add a second layer for strength. You want walls thick enough that they won't crack when you unmold them, so don't rush this step.
- Unmold with confidence:
- Once they're completely set, gently flex the silicone and watch the chocolate shells pop right out. This is the moment you'll feel like you've actually pulled off something impressive.
- Fill one half generously:
- Into each shell half, add 1 tablespoon cocoa powder, 1 tablespoon powdered sugar, and a big spoonful of marshmallows. Pack them in loosely so they have room to move around when they melt.
- Seal the two halves together:
- Warm a small plate in the microwave, then gently press the rim of an empty shell half onto it for just a few seconds until the edge softens. Quickly press it onto your filled half, holding steady for a moment until they bond.
- Decorate if you're feeling fancy:
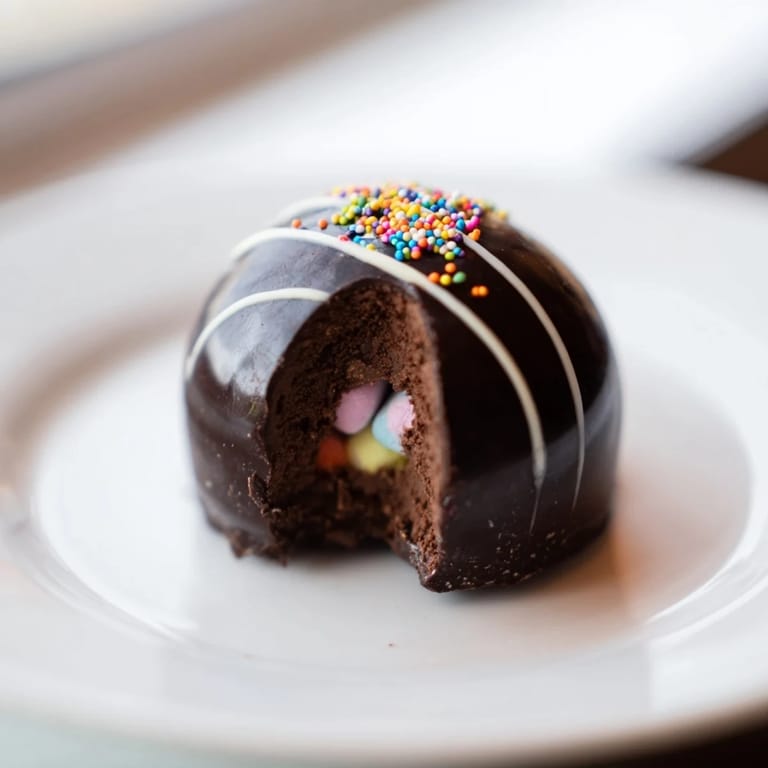
- Drizzle white chocolate over the seams and sprinkle on whatever colors make you happy. This step is purely optional but turns them into gifts people will actually frame photos of.
- Serve with hot milk:
- Drop one bomb into a mug, pour 1 cup of very hot milk over it, and watch the whole thing melt into creamy, dreamy hot chocolate. Stir and let the magic unfold.
 Save
Save Last holiday season, I made these for a Secret Santa exchange, and the recipient texted me a photo of their whole family gathered around a mug watching one dissolve. Suddenly, it wasn't just about chocolate and marshmallows—it was about creating a moment everyone wanted to share.
Choosing Your Chocolate Wisely
The chocolate you pick changes everything about how these bombs taste and perform. I've learned that mid-range chocolate works beautifully—it doesn't have to be expensive, but it should be actual chocolate, not that waxy coating stuff. Dark chocolate creates a more sophisticated bomb for adults, while milk chocolate appeals to basically everyone and adds natural sweetness that balances the cocoa powder.
Filling Flavors Beyond the Basic
Once you master the classic version, the filling becomes your playground. I've added cinnamon and cayenne for a spiced version that my friends absolutely raved about, and I've experimented with crushed peppermint candies during the holidays. The key is not going overboard—one teaspoon of extra flavoring mixed into the cocoa and powdered sugar is usually perfect, so you can taste both the chocolate and your special twist.
Storage and Gifting Magic
These keep beautifully in an airtight container at room temperature for up to two weeks, which means you can make them ahead and gift them without stress. I've wrapped them individually in cellophane with ribbon and included a card with serving instructions, and honestly, they're the gift people remember most—not because they're expensive, but because they're personal and delicious.
- Store them away from humidity so the chocolate doesn't sweat or soften.
- Gift wrapping makes them feel special, and the recipient gets to experience the surprise twice—once when they open your gift, and again when the bomb melts in their mug.
- Include a note about the hot milk temperature; milk that's not quite boiling won't melt the chocolate properly, and that's a disappointing surprise no one deserves.
 Save
Save Making these chocolate bombs turned out to be less about technique and more about the joy of watching someone's face light up when their hot chocolate literally transforms in front of them. That's why I keep making them, and that's probably why you'll keep making them too.
Recipe FAQs
- → What type of chocolate works best for the shells?
High-quality dark or milk chocolate both work wonderfully. Dark chocolate provides a richer, more sophisticated flavor, while milk chocolate offers sweetness and creaminess. For maximum durability and shine, choose chocolate with cocoa butter rather than vegetable oil substitutes.
- → How do I prevent the chocolate shells from cracking?
Multiple thin layers are superior to one thick layer. Apply two coats of chocolate, chilling between applications, to build structural integrity. Also, handle the shells gently and store them in a cool, dry place away from temperature fluctuations.
- → Can I make these ahead of time?
Yes, these keep beautifully in an airtight container at room temperature for up to two weeks. They're perfect for gift-giving or preparing ahead for gatherings. Ensure they're completely cooled and set before storing.
- → What alternatives exist for mini marshmallows?
You can substitute with flavored marshmallows, crushed peppermint candies, chocolate chips, or a combination of these. For an adult twist, add instant espresso powder or a hint of cayenne pepper to the cocoa mixture.
- → How hot should the milk be when serving?
Use very hot milk, ideally around 160-170°F (70-75°C). This temperature ensures the chocolate shell melts quickly and completely while the marshmallows soften, creating a smooth, creamy texture without scorching the milk.
- → Can these be made dairy-free or vegan?
Yes. Use dairy-free chocolate and substitute the cocoa powder mixture with vegan-friendly alternatives. Replace traditional marshmallows with gelatin-free varieties, and serve with non-dairy milk like oat, almond, or coconut milk for a fully vegan version.