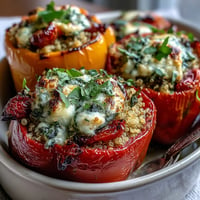
 Save
Save My sister texted me a photo of her pizza night—pepperoni, melted cheese, the works—and I realized I hadn't tasted pizza in months because of the carb guilt. That evening, I stood in my kitchen wondering if I could trick myself into thinking cauliflower could actually work as a crust. Three grocery bags and one skeptical friend later, I pulled out a golden, crispy base that didn't taste like sad vegetables. It tasted like possibility.
I made this for a dinner party where I hadn't told anyone it was low-carb. My friend took a huge bite, paused, and said, 'Wait, where's the actual crust?' That moment—when she realized she couldn't tell the difference—made the whole thing worth it.
Ingredients
- Cauliflower (1 medium head): The star that does all the heavy lifting; pulsing it fine keeps it light and helps it bind properly without becoming gluey.
- Large egg: Acts as the glue that holds everything together without needing flour or xanthan gum.
- Mozzarella cheese (60 g): Melts into the dough and creates that familiar stretchy texture you expect from pizza.
- Parmesan cheese (30 g): Brings sharp, nutty flavor and helps crisp up the edges as it bakes.
- Dried oregano (½ tsp): The classic pizza herb that makes it taste like you're not eating vegetables.
- Garlic powder (½ tsp): A little goes a long way to make this taste savory and real.
- Salt and black pepper: Don't skip these—they balance the mild cauliflower flavor and bring everything into focus.
Tired of Takeout? 🥡
Get 10 meals you can make faster than delivery arrives. Seriously.
One email. No spam. Unsubscribe anytime.
Instructions
- Fire up your oven and prep:
- Heat to 220°C (425°F) and line your baking sheet with parchment paper so nothing sticks and cleanup is easy.
- Turn cauliflower into rice:
- Pulse your florets in the food processor until they look like fine breadcrumbs—this texture is what makes the crust hold together instead of falling apart.
- Soften it gently:
- Microwave the cauliflower rice for 4–5 minutes until it's tender and steaming. Let it cool just enough to touch without burning your hands.
- The secret squeeze:
- This is where most people fail—wrap the warm cauliflower in a clean kitchen towel and squeeze like you mean it until water stops dripping out. A soggy crust is a ruined crust, so really commit to this step.
- Mix into dough:
- Combine the squeezed cauliflower with the egg, both cheeses, oregano, garlic powder, salt, and pepper in a bowl. Stir until it's sticky and holds together when squeezed.
- Shape your canvas:
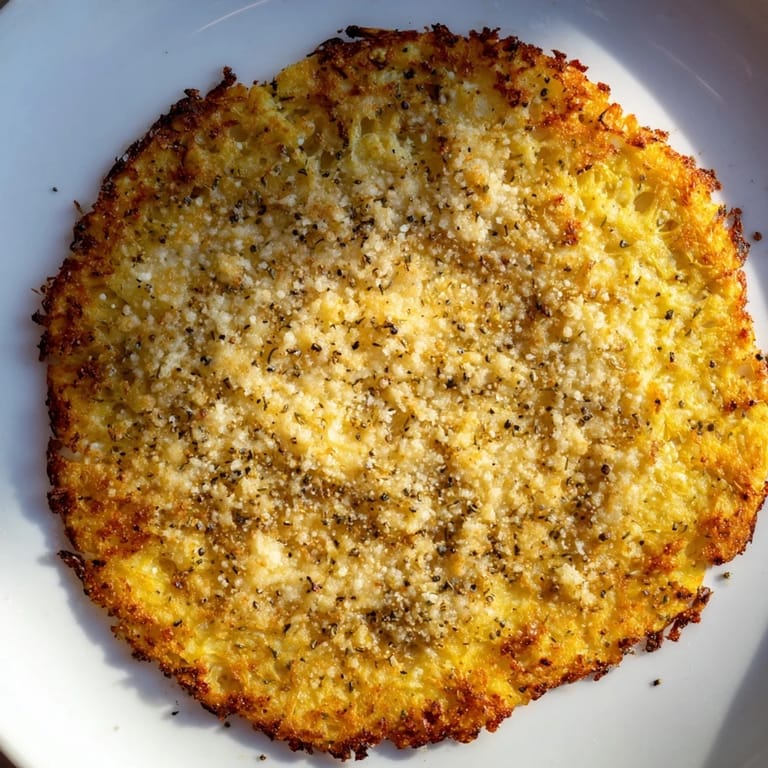
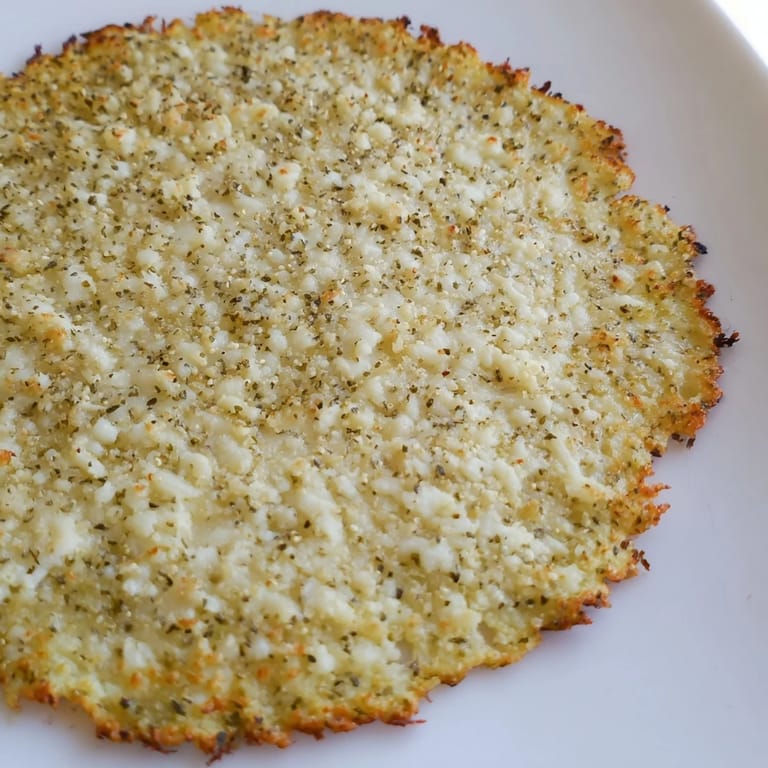
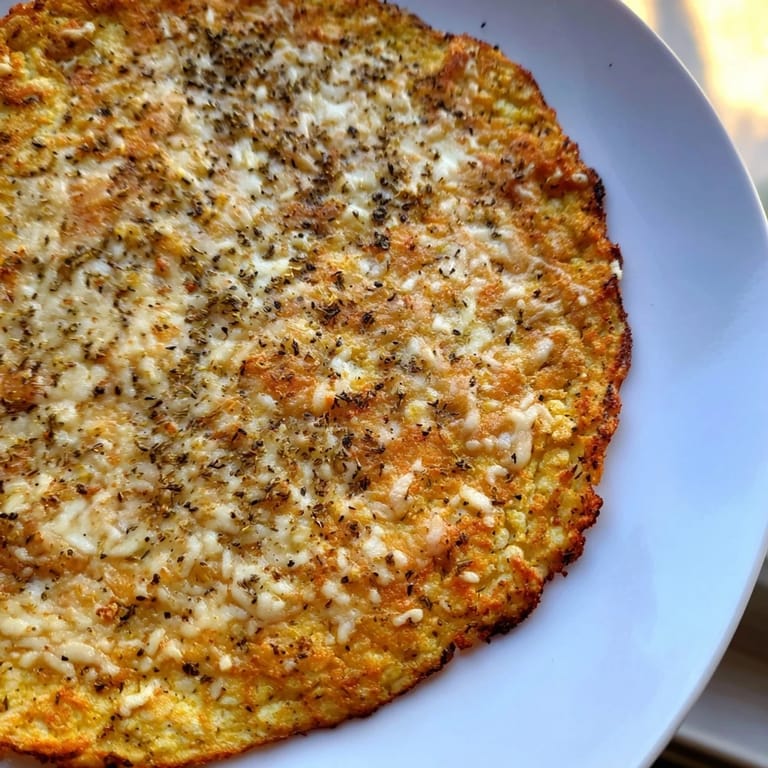
- Spread the mixture onto your parchment-lined sheet and press it into a ¼-inch-thick round or rectangle. Smooth the edges so they bake evenly.
- Bake the base:
- Pop it in the oven for 20–25 minutes until golden brown and firm enough to hold toppings. You'll know it's ready when it smells nutty and looks lightly caramelized on the edges.
- Add toppings and finish:
- Spread your sauce, cheese, and toppings on the hot crust, then bake for another 5–8 minutes until everything melts and bubbles slightly at the edges.
- Slice and serve:
- Let it cool for just a minute so it doesn't fall apart, then cut and serve while it's still warm.
 Save
Save My mom tasted this and asked for the recipe, which felt like the ultimate validation. She's been making it for her book club potlucks and telling people it's low-carb as an afterthought, like it's not even the point anymore.
Why the Moisture Matters
Cauliflower holds water like a sponge, and that's its biggest weakness as a crust ingredient. When you cook it, steam gets trapped inside, and if you don't remove that moisture, you end up with a doughy, floppy base instead of something crispy. Microwaving softens it quickly, but the real magic happens in the squeezing step—that's where patience pays off.
Making It Your Own
The beauty of this crust is how flexible it is once you master the base. I've added fresh herbs like basil or thyme, mixed in a little Everything Bagel seasoning, or even stirred in some crushed red pepper for heat. The structure stays the same, but the flavor can shift depending on what topping adventure you're about to have.
Serving and Storage
Serve this hot and fresh for the best texture, though it does keep in the fridge for a couple of days if you have leftovers. I've reheated slices in a toaster oven at low heat and gotten them crispy again, which works better than the microwave.
- Slice immediately while it's warm so it doesn't get rubbery as it cools.
- Store in an airtight container and reheat gently to maintain crispness.
- Freeze unbaked crusts between parchment layers and bake from frozen, adding a few extra minutes to the time.
 Save
Save This crust changed how I think about what 'healthy eating' can taste like—not restrictive or apologetic, just honestly delicious. Give it a try and see if it becomes your new pizza night secret.
Recipe FAQs
- → How do I ensure the crust is crispy?
Thoroughly squeezing out moisture from the cooked cauliflower is crucial for a crisp crust. Use a kitchen towel or cheesecloth to press out excess water before mixing.
- → Can I make this crust vegan?
Yes, by substituting the egg and cheeses with suitable vegan alternatives, you can create a plant-based version of this crust.
- → What toppings work best on this base?
Light tomato sauce, fresh vegetables, and moderate cheese toppings pair well without overwhelming the delicate crust texture.
- → Is it suitable for gluten-free diets?
Absolutely, this crust is gluten-free since it uses cauliflower and cheese instead of traditional flour-based dough.
- → How long should I bake the crust?
Bake the shaped crust for 20–25 minutes at 220°C (425°F) until golden brown and firm, then add toppings and bake for an additional 5–8 minutes.